-
Products
 Mobile Utilities
This groundbreaking video blurring application provides a seamless solution for effortlessly adding blur effects to videos, transforming the video blurring process with state-of-the-art AI technology. This video blur tool offers various blurring options, including blurring faces, fixed objects, background, and even license plates.
Step 1
Get Ready for the Launch of this Video Blur Application
The first step is to click on the Download button above to get the .exe or .dmg file. Once downloaded, simply run the file to start installing the application on your Windows PC or Mac.
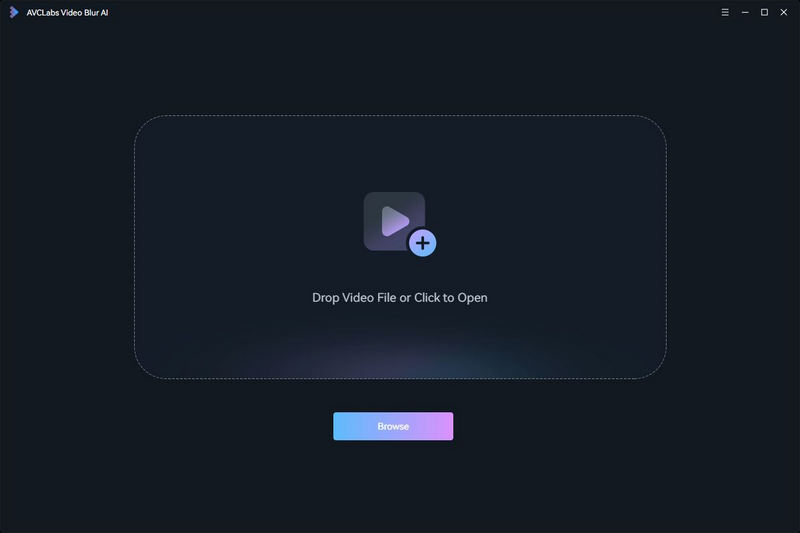
Once you've installed it, simply launch this video blur app to be greeted by a user-friendly and intuitive interface.
Step 2
Import a Video Clip
Click the "Browse" button in the middle of the main interface or drag and drop to import a video clip from computer sources in any of the leading video formats, then the video clip will be added to the timeline panel automatically.
Supported input formats: 3G2, 3GP, AVI, DIVX, FLV, F4V, M2TS, MTS, MOV, MP4, M4V, MPEG, MPG, DAT, MKV, OGM, RMVB, RM, TS, TP, VOB, WMV, WTV, ASF, DV, WEBM, etc.
Step 3
Add Blur Tasks
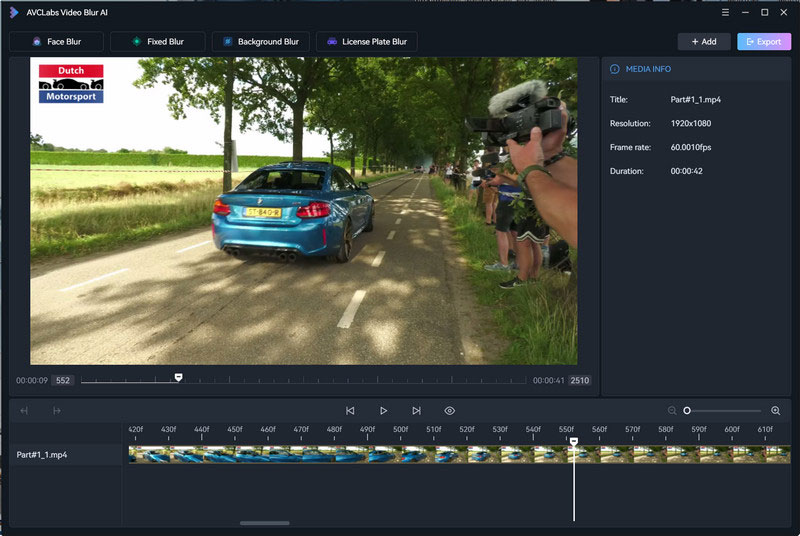
At the top left of the panel, you can select one blur option individually or multiple blur options simultaneously. The blur options include Face Blur, Fixed Blur, Background Blur, and License Plate Blur.

To add a blur task, simply click on any blur option. You can continue clicking to add as many blur tasks as you like. Once you've selected a blur option, this video blur task will be added to the timeline toolbar, ready for your editing.
Step 4
Edit Blur Tasks
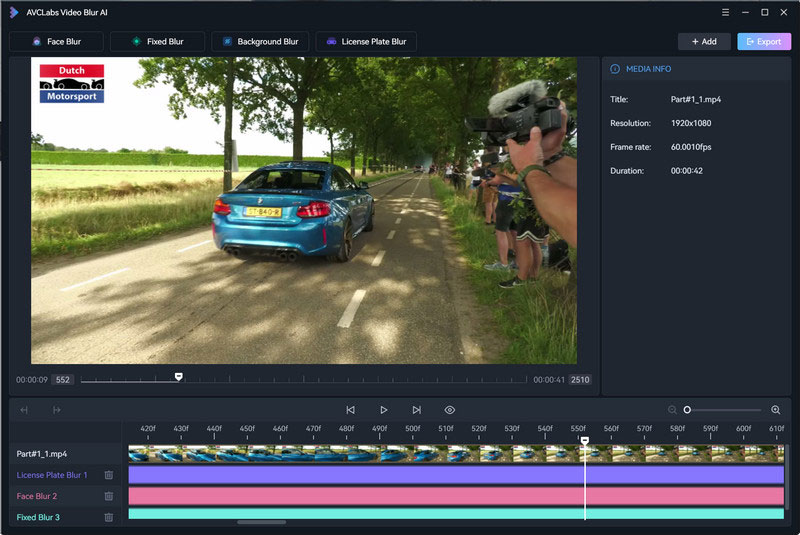
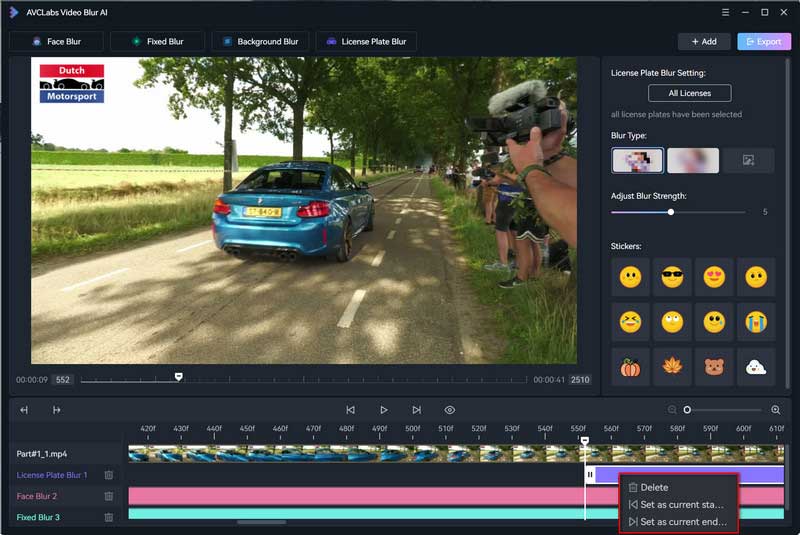
In the bottom edit workspace, right-click a blur task in the timeline and you'll be presented with three editing options: Delete, Set as the current start frame, and Set as the current end frame.
To set the start point, simply drag the playhead to the desired position. Afterward, right-click on the blur task, and select "Set as the current start frame".
To set the end point, move the playhead to the end position and select "Set as the current end frame".
Step 5
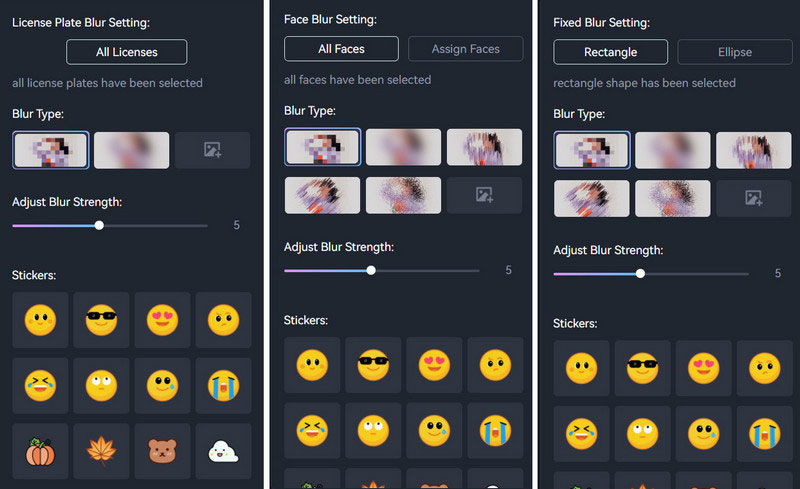
Select the Blur Type and Adjust the Blur Strength
On the right panel, you can choose among different blur types, such as mosaic, standard blur, or particle blur effect. You also have the option to upload your own image or select a sticker to use as the blur effect.
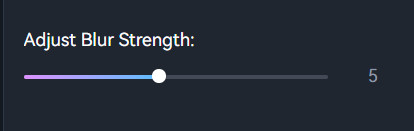
If the current blur strength doesn't meet your satisfaction, simply drag the slider to the right to intensify it or to the left to reduce it.
Step 6
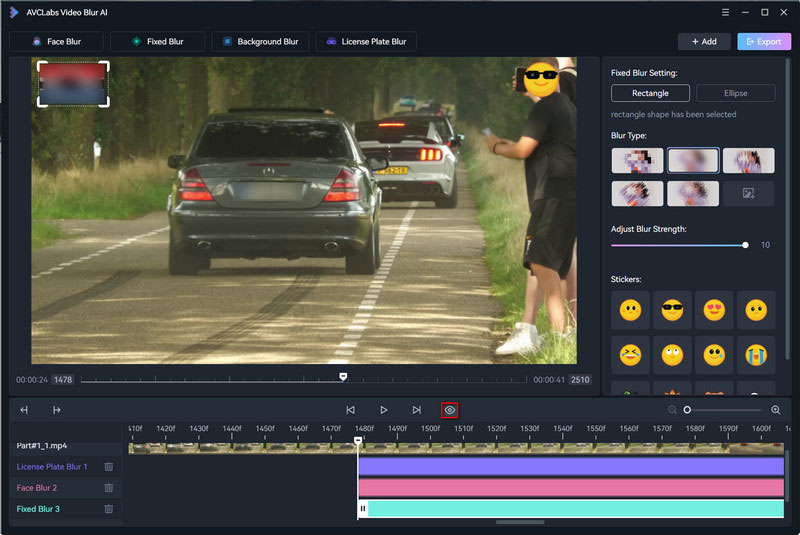
Preview the Blur Effect
Click the EYE icon to enter the preview mode. Please allow a few seconds for the preview model to load. You can fine-tune the blur effect if it doesn't meet your satisfaction.
Step 7
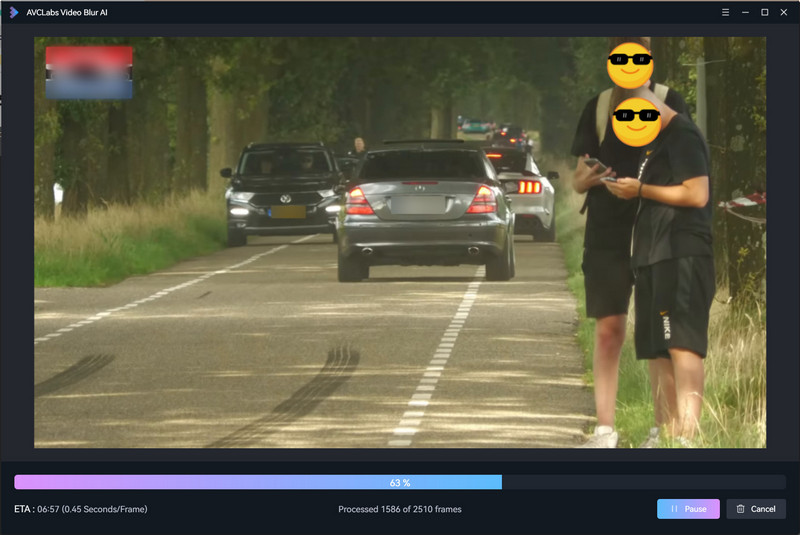
Start Export
Once you are satisfied with the outcome, simply click the "Export" button to start exporting the video.
Money Back Guarantee
100% Secured and Clean
Free Technical Support
Customer Service within 24 Hours
© 2005-2026 Anvsoft Inc.All Rights Reserved.